Making cheese is a craft handed down by generations of people from all over the world. To make a raclette, for instance, takes time, patience, perfect conditions, healthy animals, and skilled people. You, however, can be the maker of your very own cheese as well. Fresh farmer’s cheese is relatively quick and easy to make and can be used in so very many ways, from a spread on toast, to paneer cubes in your next curry, a topping for a salad, or even on pancakes. Farmer’s cheese is highly versatile and while it may not pack as powerful a punch as a hearty cheddar, it’s still a fantastic homemade cheese—and an important basic for those amateur cheesemakers who are just getting started learning how to make cheese.
How To Make Raw Milk Cheese
One of my favorite parts of fermented dairy is that way that you can use the byproducts of one to produce another. For instance, if you made yogurt from the last raw milk article, you can use the acidic whey from the yogurt to curdle your next batch of milk to make cheese! That’s right, basic cheese is just curdled milk. Curdling is simply the process of separating the milk solids (such as casein, a milk protein) with the whey proteins. By acidifying the liquid molecules of the milk, you force the fats and proteins to join together, forming curds—hence the term curdling.
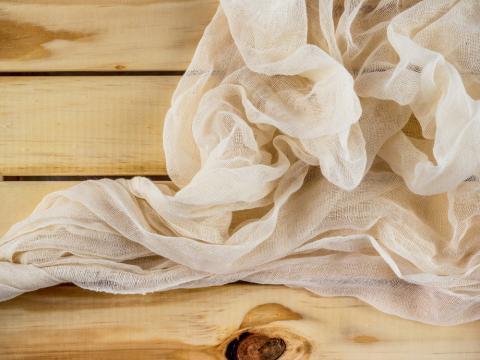
To gather they whey from the yogurt you will need to use more cheesecloth as well as the sieve and bowl. Place the sieve in the bowl so that it is suspended and there is space in the bowl underneath it. Lay the cheesecloth several times over the sieve, depending on how tight the fibers are. The fibers need to be rather close in this case. Take about two cups of yogurt and place them into the cheese cloth and sieve, allowing the whey to start flowing out. You may want to gather the edges of the cloth and suspend the draining yogurt to take more advantage of gravity. Let the yogurt drain for about 15 minutes or until you have collected at least 1/2 cup of whey. Scoop the remaining (now Greek!) yogurt back into its container to enjoy later and set the whey aside.
Ingredients & Equipment Needed To Make Cheese
- large pot (I use a stainless-steel soup pot.)
- 5 ice cubes
- 3 quarts raw, whole fat milk
- cheesecloth
- sieve that can sit on a bowl
- large bowl to hold the sieve
- 2 plates
- brick or other heavy object
- 4-5 Tablespoons lemon juice OR 1/2 - 1 cup whey from yogurt
Directions To Make Cheese
- Place the milk and ice cubes in the large pot and put on medium heat. The ice cubes should temper the top of the milk so that it can reach boiling point without forming a skim at the top. If a skin does form, swipe it off and discard it. Slowly heat the milk to its boiling point. Do not let it boil long and immediately take it off the heat.
- Begin slowly stirring the milk and adding your acidifying agent. If you are using lemon juice, be sure to add the juice just a little at a time. You will see the milk curdling and should stop adding the acid as soon as that process begins. You want to use as little lemon juice as possible. Whey will not be as acidic as lemon juice and so can be added at greater quantities, still keeping the milk swirling. There is a chance that, depending on how acidic your yogurt is, the whey is not enough to truly curdle the milk. If this is the case, I recommend having a backup of lemon juice on hand. The quickness with which the milk curdles is dependent on the quantity of fats and proteins in the milk versus the acidity level of the lemon juice or whey.
- Once the milk solids have separated from the greenish-yellow whey, you can set up your sieve with a cheesecloth over it and pour the whole pot through the sieve. Make sure the bowl is big enough to hold all the whey!
- Once the majority of the whey is drained off, you can either use the cheese right away as a soft cream cheese or you can gather the edges of your cheesecloth together, forming the farmer’s cheese into a round pancake. Squash this pancake between the undersides of your two plates and place the brick on top of them. Place the whole set up in a sink or place a larger plate underneath to catch the remaining whey that will be pressed out of the cheese.
- Press the cheese for about 15-20 minutes, depending on how firm you want the cheese to be. A firmer cheese will be able to be cut and used as paneer, as well as a crumbly queso fresco on top of tacos. A softer cheese will be great as an addition to a salad. Once the cheese is pressed, it can be unwrapped and refrigerated for 30-60 minutes before use. This will keep the cheese together until it is ready to be sliced.
Good luck with your cheesemaking endeavors, and don’t forget that there are a number of fantastic ways to make use of the whey that comes from making cheese. I use the whey to soak my oats in overnight, I add it to smoothies, and even cook rice with it. It’s a great way to add extra protein to your meals, and all thanks to the cows for which your local farmer cares.
Happy fermenting!


